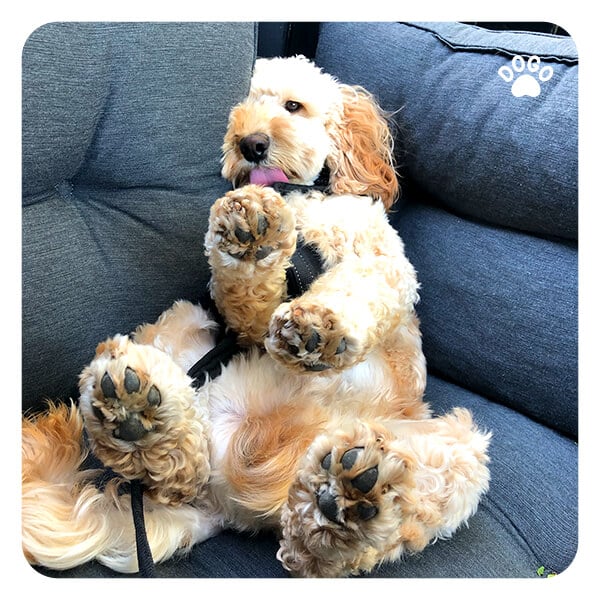
 If you’re a dog lover like me, you probably find yourself captivated by every little detail of our furry friends. And what’s more captivating than a dog’s paw? Those adorable little pads and claws that carry them through life are a true marvel. If you’ve ever wanted to capture that charm on paper, you’re in luck! In this blog post, I’ll show you how to draw a dog paw step by step, so you can bring a touch of canine cuteness to your artwork.
Before we begin, remember that drawing is an art form, and just like any skill, it takes practice to refine your technique. So, don’t be discouraged if your first attempt doesn’t turn out exactly as you imagined. Embrace the process, and with time, you’ll see improvement. Now, let’s dive right into drawing a dog paw!
Step 1: Start with the Basic Shape
Begin by drawing a simple oval shape as the base of the paw. This will be the central pad. Remember, it doesn’t need to be perfect. The organic nature of dog paws means they come in various shapes and sizes.
Step 2: Add the Toes
Extend small lines from the top and bottom of the central pad to create the toes of the paw. Dogs typically have four toes, so keep that in mind as you draw. Each toe should be slightly angled and curved, allowing for a natural appearance.
Step 3: Define the Pads
Within each toe, draw smaller oval shapes to represent the individual pads. Dogs have paw pads on both the top and bottom of their paws. On the bottom, these pads are more rounded, while on the top, they are slightly elongated.
Step 4: Outline the Claws
Next, draw small curves at the top of each toe to indicate the claws. Remember that not all claws are visible, as dogs can retract them. You may choose to draw all the claws or only a few, depending on your preference.
Step 5: Refine the Details
Now it’s time to add some depth and texture to your drawing. Start by drawing gentle curves along the central pad and the pads on each toe. This will give the paw a more realistic look. You can also add some short lines to indicate fur between the pads and around the paw.
Step 6: Final Touches
To complete your drawing, erase any unnecessary lines and refine the shape of the paw. Take a step back and assess your work. If you’re satisfied, you can now add color to your drawing or leave it as a black-and-white sketch.
Remember, practice makes perfect! Don’t be afraid to experiment and try different techniques. Each dog has unique paws, so feel free to adapt these steps to match the specific breed or individual you’re drawing. With time and patience, you’ll be amazed at the progress you can make.
Drawing a dog paw is not only a delightful way to express your love for dogs, but it also allows you to develop your artistic skills. So, grab a pencil, find a cozy spot, and let your creativity flow. By following these steps and embracing your passion, you’ll be well on your way to creating beautiful dog paw drawings that capture the spirit of our beloved furry companions.
Remember, drawing is a form of self-expression, so don’t be too hard on yourself. Enjoy the journey, have fun, and celebrate the joy that dogs bring into our lives!
And there you have it – a simple guide to drawing a dog paw. I hope you found this tutorial helpful and inspiring. Happy drawing![/fusion_text]


