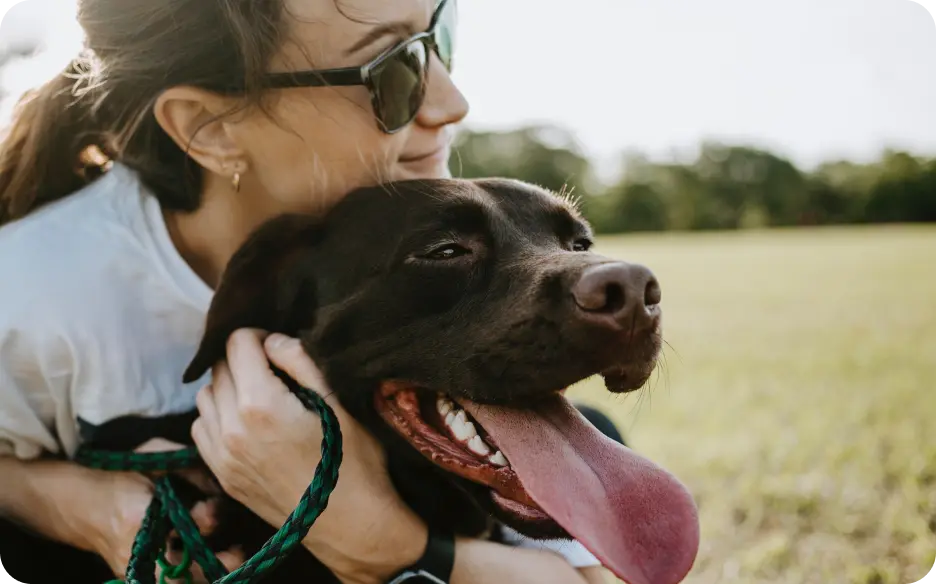
Creating a custom dog collar is a rewarding project that allows you to express your creativity while ensuring your furry friend has a comfortable and stylish accessory. Whether you want to match the collar to your dog’s personality or simply need a new one, making a dog collar is easier than it may seem. With a few materials and some basic sewing skills, you can craft a collar that is both functional and fashionable.
Gather Your Materials
Before starting, gather all the necessary materials. You will need durable fabric, which can be cotton or nylon, depending on your preference. The fabric should be strong enough to withstand daily wear and tear. Next, acquire a sturdy buckle, a D-ring for attaching tags and leashes, and either a sewing machine or needle and thread. For a personal touch, consider adding decorative elements such as patches, embroidery, or fabric paint.
Measure for a Perfect Fit
Start by measuring your dog’s neck to ensure a proper fit. Use a flexible measuring tape to wrap around the base of your dog’s neck, adding a couple of inches for comfort and adjustability. This measurement will help you cut the fabric to the right length. Different breeds have different neck sizes, so take your time to get this measurement accurate.
Cut the Fabric
Cut the fabric according to the measurements you’ve taken. If using fabric that frays easily, consider cutting it slightly larger and folding and sewing the edges to prevent fraying. This will give your collar a neat appearance and enhance its durability. If using a patterned fabric, align it carefully before cutting to ensure that the design is centered.
Sew the Collar
With the fabric cut, it’s time to sew the collar. Fold the fabric in half lengthwise with the right sides facing each other, and sew along one long side and one short side, leaving one end open for the buckle. Turn the fabric right side out, revealing the shape of your collar. Use a pencil or similar tool to help push the corners out without damaging the fabric.
Insert the Buckle
After turning the collar right side out, insert the buckle. Take the end that you left open and thread one side of the buckle through the fabric. Ensure that it’s securely in place. Then, sew the open end closed, which will also help secure the buckle. A backstitch or zigzag stitch will provide extra strength, ensuring the collar can handle any tugging or pulling.
Add the D-Ring
Adding the D-ring is essential for attaching a leash and identification tags. Thread the D-ring onto the collar before sewing the end shut, positioning it so that it sits on the inside of the collar when worn. This prevents it from poking your dog. Ensure this section is sewn securely, as it will be under stress when the leash is attached.
Personalize Your Collar
Now that the collar’s structure is complete, unleash your creativity. Personalize the collar with embellishments such as patches, embroidery, or fabric paint. If using fabric paint, make sure it’s non-toxic and safe for pets. Allow any embellishments to dry fully before allowing your dog to wear the collar.
Test the Fit
Once your collar is complete, test its fit by slipping it around your dog’s neck and adjusting as necessary. You should be able to fit two fingers comfortably between the collar and your dog’s neck, ensuring it’s snug enough to stay on but not so tight that it restricts movement or causes discomfort. Make adjustments if needed.
Observe Your Dog’s Reaction
After ensuring the collar fits well, let your dog try it out. Observe how they react to wearing the new accessory. Some dogs may take time to adjust, while others may not notice it at all. Monitor their behavior to ensure they are comfortable. If they seem anxious or try to remove the collar, give them some time to acclimate.
Enjoy the Process
Making a dog collar can be an enjoyable experience, resulting in a practical item that allows you to bond with your pet. This project can also involve children or friends, turning it into a fun group activity where everyone can create their own collar while sharing ideas and techniques.
Create Multiple Collars
A homemade collar can carry sentimental value, reminding you of the time spent crafting it together. Plus, you have the freedom to choose colors and patterns that suit your dog’s personality. Consider making multiple collars for different occasions or seasons, such as bright floral designs for spring or festive patterns for the holidays, ensuring your dog remains stylish and comfortable.
Explore Your Creativity
Making a dog collar is not just a small task; it’s an opportunity to create something meaningful. Your dog is a beloved member of your family, and crafting a collar showcases your care for them. It also allows you to explore your creativity and develop new sewing or crafting skills.
Cost-Effective and Eco-Friendly
Creating a dog collar can often be more economical than purchasing a ready-made product, especially if you already have some materials at home. This approach not only saves money but also ensures your dog has a high-quality and personalized collar. Additionally, by using fabric you already have or opting for sustainable materials, you can make an environmentally friendly choice, reducing waste while caring for your pet.
A Special Connection
Every collar you make reflects your dog’s unique personality and your creativity. Each stitch represents the love and care you have for your furry friend. The time spent making something special for them can deepen the bond you share, transforming the collar into a cherished accessory that tells a story.
Creating a dog collar opens a world of possibilities. From basic designs to intricate embellishments, the only limit is your imagination. Your dog deserves the best, and by making something yourself, you provide them with a collar crafted with love and attention. Embrace the process, enjoy the creativity, and celebrate the special connection between you and your pet.


