Drawing a dog can be a fun and rewarding activity, whether you are a beginner or experienced. Dogs come in various shapes, sizes, and breeds, making them an interesting subject for artists of all levels. Capturing the essence of a dog requires some practice and patience, but with the right approach, you can create a charming representation of your furry friend. This guide will walk you through the process of drawing a dog step by step, making it simple and enjoyable.
Gather Your Materials
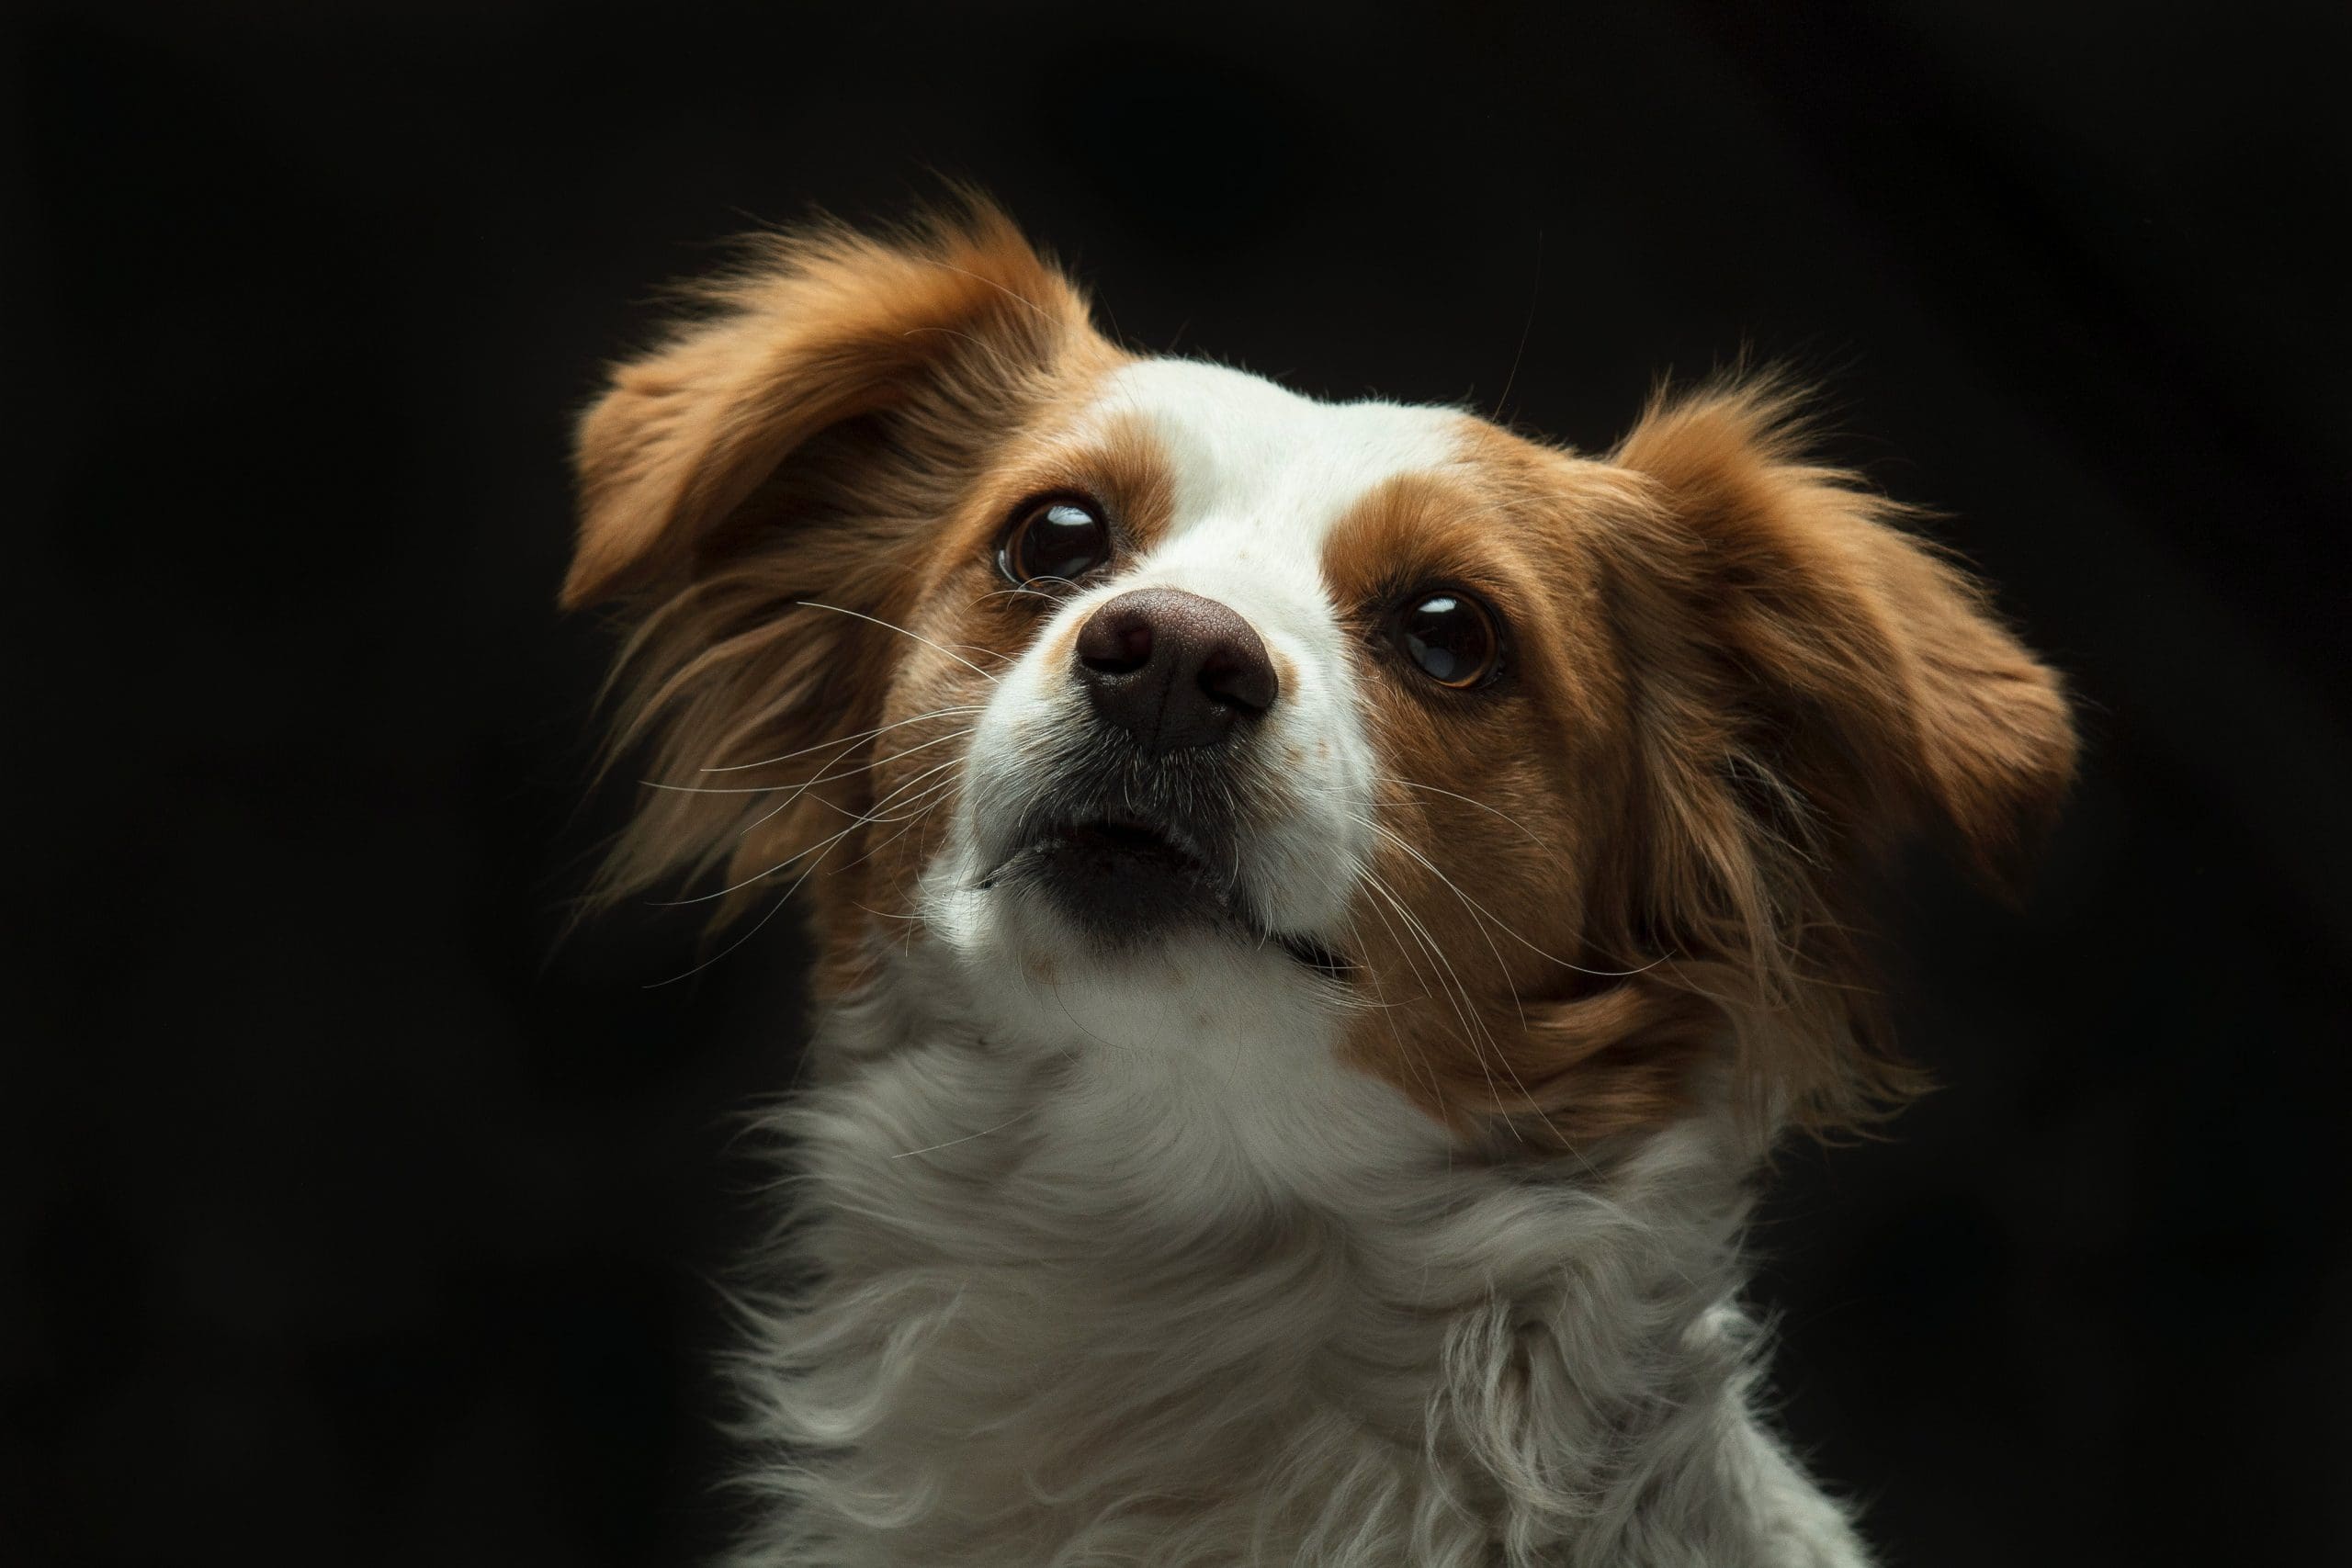
Start by gathering your materials. You will need a pencil, eraser, paper, and some colored pencils or markers if you wish to add color later. Having a reference image can also be helpful. Choose a photo of a dog that you find appealing. It could be your pet, a dog you admire, or even a cartoon-style dog. A visual reference will aid you as you work through each step.
Basic Shapes
Begin with the basic shapes. Every drawing starts with simple forms, and drawing a dog is no exception. Lightly sketch a large oval for the body and a smaller circle for the head. These two shapes will form the foundation of your drawing. Position the head circle slightly above and to the left of the body oval to give your dog a natural stance.
Guidelines for Legs and Tail
Next, add guidelines for the legs and tail. For the legs, draw two straight lines extending down from the body oval. These lines will help visualize where the legs will go. Depending on the breed you are drawing, you may want to make these lines slightly curved for a more dynamic pose. For the tail, sketch another curved line extending from the back of the body oval.
Refining the Form
Once you have the basic shapes and guidelines in place, refine the form. Start shaping the head by adding the snout. From the bottom of the head circle, draw a small rectangle that extends outwards. This rectangle will help define the dog’s snout. Make the edges rounded for a more natural look.
Adding Ears
Next, work on the ears. Depending on the breed, the ears can be floppy or pointy. For a floppy-eared dog, draw two elongated ovals on either side of the head. For a pointy-eared dog, create two triangles that sit upright. Pay attention to the angle and position of the ears, as they significantly affect the overall expression of the dog.
Shaping the Legs
Now, focus on the legs. Refine the straight lines you previously drew into legs with shape and form. For each leg, draw a thicker line that represents the paw, adding a slight curve to show the joints. The front legs may appear straighter, while the back legs will have a slight bend. Don’t forget to add paws at the end of each leg.
Detailing the Face
With the outline of the body, head, legs, and tail complete, add details. Start with the face. Draw two circles for the eyes, ensuring you leave a small white spot to indicate light reflection, giving the eyes a lively appearance. Below the eyes, draw a small oval for the nose. Add a curve for the mouth, which can be a simple line or a smiling curve, depending on the expression you want the dog to have.
Adding Fur Texture
Once the face is detailed, move on to the fur. Add texture by drawing short lines or small curves along the body, head, and tail. This will create the illusion of fur and make your drawing more lifelike. Follow the shape of the dog’s body as you add these details. For instance, the fur on the tail may flow differently than on the body.
Refining the Sketch
After adding all the details, refine your sketch. Go over your lines with a darker pencil or pen to emphasize the outline of your dog. Erase unnecessary guidelines and shapes that are no longer needed. Step back to evaluate your drawing. This is a good time to make adjustments or enhancements to ensure that everything looks just right.
Adding Color
Now that your dog drawing is complete, consider adding color. Use colored pencils or markers to bring your drawing to life. Start with the base color of the dog’s fur, layering other colors to add depth and dimension. Pay attention to shadows and highlights to make your drawing pop.
Incorporating a Background
Consider adding a background to give your drawing context. This could be as simple as a grassy field, a cozy room, or a colorful park. A background not only enhances your drawing but tells a story about your dog.
Capturing the Spirit of the Dog
Drawing a dog is not just about replicating what you see; it is about capturing the spirit of the animal. Each dog has a unique personality, and your drawing can reflect that. Spend time observing the dog you are drawing, noticing its expressions, posture, and energy. Let this observation inform your drawing process.
Embrace Patience and Practice
If you are new to drawing, be patient with yourself. Your first few attempts may not turn out exactly as envisioned. This is completely normal. Every artist goes through a learning curve, and practice is key. Keep drawing, and you will improve over time.
Experiment with Different Breeds
Experiment with different breeds and styles. Each breed has distinctive features that can present interesting challenges. Try drawing a small dog like a pug, then switch to a larger breed like a golden retriever. Each experience will enhance your skills and expand your understanding of form and proportions.
Find a Community
Joining a community of fellow dog lovers and artists can provide support and inspiration. Share your drawings, seek feedback, and engage in discussions about techniques and styles. Online platforms and local art groups can be excellent resources for connecting with others who share your interests.
Enjoy the Therapeutic Benefits
Drawing can be a therapeutic activity. It allows you to express your feelings and thoughts while focusing on something you love—dogs. Whether drawing your pet or a beloved breed, the process can bring joy and relaxation.
Explore Other Art Forms
Incorporating drawing into your routine might inspire you to explore other aspects of art, such as painting or digital illustration. The skills developed while drawing dogs can transfer to other subjects and mediums, enhancing your overall artistic ability.
Celebrate Your Progress
As you continue to practice drawing dogs, enjoy the process. Each stroke of the pencil is an opportunity to express your creativity. Celebrate your progress, no matter how small. Every drawing completed is a step towards becoming a more skilled artist.
Drawing a dog step by step can be a fulfilling journey, allowing you to connect with your love for these animals. Whether aiming to capture the likeness of your pet or create an imaginative character, the skills you develop will serve you well. Embrace the challenges, enjoy the learning process, and most importantly, have fun.
With time, patience, and practice, confidence in your abilities will grow. Drawing can open up a new world of creativity and self-expression, and your passion for dogs will enhance that experience. So grab your pencil and paper, and let your creativity flow as you explore the wonderful world of drawing dogs.


